

How to Make a DIY Leather Apron: A Complete Step-by-Step Guide for Beginners
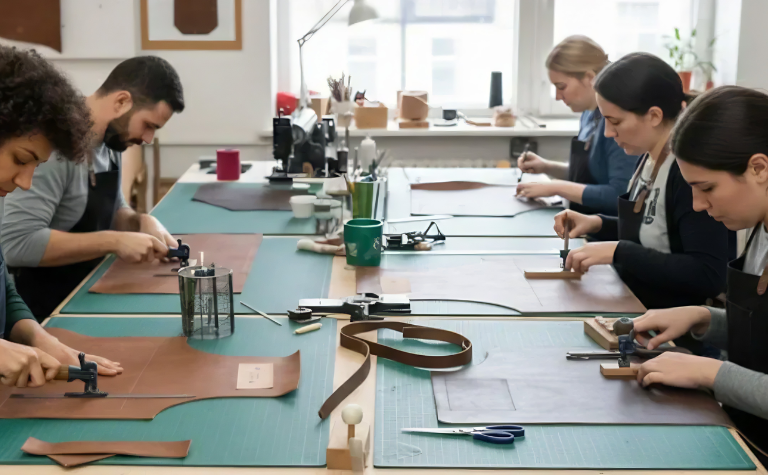
It is no secret that a leather apron is more than just another piece of protective gear. It’s a durable companion for craftsmen, chefs, baristas, and those who work with their hands. While you can buy ready-made options, creating your own DIY leather apron gives you full control over its fit, style, and functionality.
But making a leather apron at home can be challenging. But don’t you worry, as in this guide, we’ll share with you a practical guide so that you’ll be able to make a DIY leather apron, even as a complete beginner.
What You’ll Need Before You Start Your DIY Leather Apron Process
Leather Selection
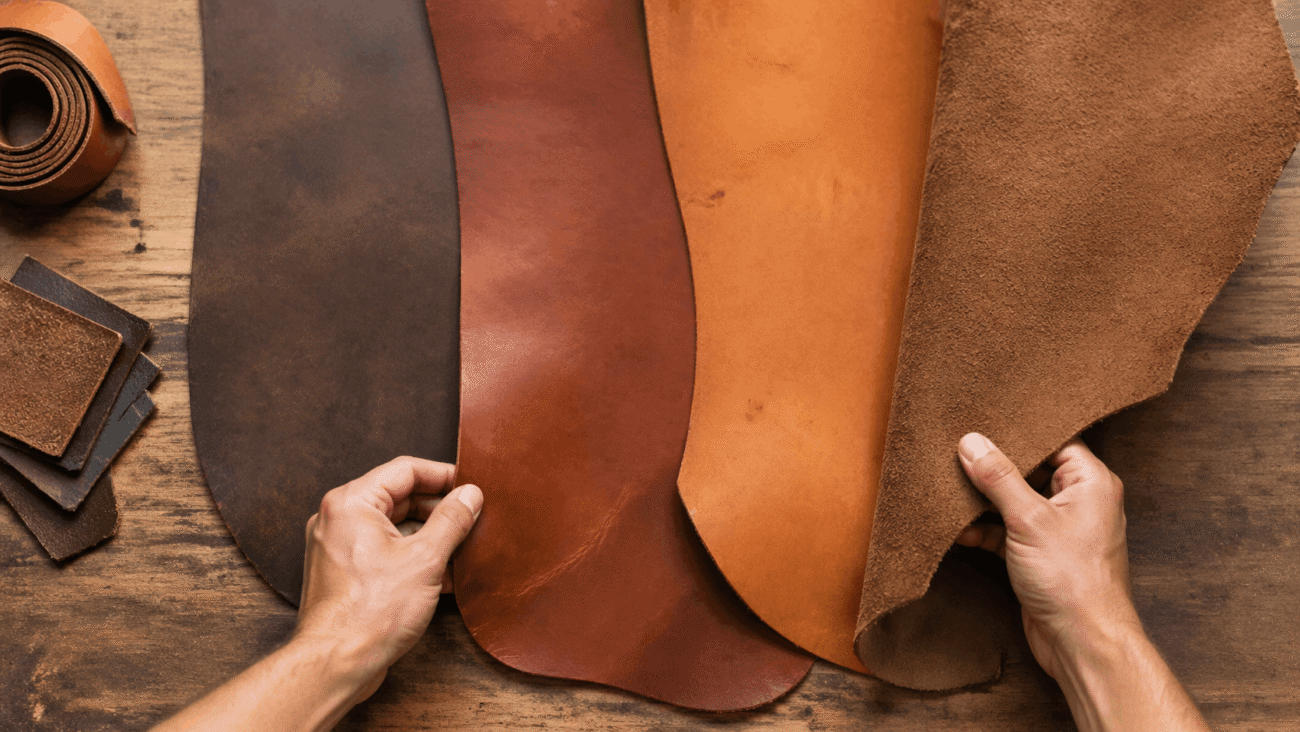
Choosing the right leather is the first step in making an apron. For this reason, full-grain or top-grain leather works best because they are strong and easy to handle. Also, keep in mind to avoid overly stiff leather, as it can be difficult to cut and stitch. At last, vegetable-tanned leather is popular for DIY projects since it softens with use and develops character.
Cutting Tools
Sharp cutting tools are also important for clean edges. A utility knife or a rotary cutter can work best for it. Also, make sure not to use dull blades as they can tear the material and create uneven lines. Also, use a sturdy cutting mat underneath to protect your work surface. A metal ruler can also be helpful, as it can help in straight cuts. For curved sections, move slowly and maintain steady pressure.
Punching and Stitching Tools
You’ll need tools to create holes and stitch leather pieces together. A leather hole punch or stitching chisels can help you make evenly spaced holes, which can improve stitching strength and appearance.
Waxed thread is also recommended because it can resist fraying. Use leather needles, which are stronger than regular sewing needles. A stitching pony can hold leather in place, though it’s optional for you if you are a complete beginner.
Measuring and Marking Tools
Accurate measurements ensure that your apron fits comfortably. For that purpose, a measuring tape can help you determine its length and width. Use a ruler for straight lines and a square for cutting accurate corners. At the same time, marking tools like chalk or a silver pen can also work well on leather. Also, make sure to avoid permanent markers that may stain the surface because light markings are easier to remove later.
Edging and Finishing Supplies
Finishing tools can improve both appearance and comfort. This is where an edge beveler can smooth the sharp corners along leather edges. Sandpaper can also help to refine the rough areas before finishing. Burnishing tools or a wooden slicker can also create polished edges.
You may also use leather conditioner or beeswax for added protection, as these supplies can help prevent fraying and give your apron a professional look.
Choosing the Right Leather for Your Apron
Best Leather Types for Beginners
For beginners, vegetable-tanned leather is one of the best choices. It’s easy to cut, stitch, and shape without specialized tools. This type of leather can soften gradually, which makes it comfortable during long use. Another good option is top-grain leather, which offers durability and a smoother surface.
Thickness and Weight Recommendations
Leather thickness can affect comfort and durability. For aprons, a thickness between 4 oz and 6 oz is ideal as this range can protect without feeling too heavy. Thicker leather offers more durability but can restrict movement, while too thin leather may not hold shape well.
Also consider your usage when choosing weight. Woodworkers may prefer slightly thicker leather, while kitchen use benefits from lighter options.
How Much Leather You’ll Need
The amount of leather depends on the apron size and design. A standard apron usually requires one large piece measuring around 24 by 36 inches. Additional leather is needed for straps and pockets. But it’s always wise to purchase slightly more than required because extra material can help fix mistakes or add features later.
Taking Your Measurements and Creating a Pattern
Body Measurements You Need
Start by measuring from your chest to just above your knees. This determines your apron’s length. Next, measure across your torso to decide the overall width. Make sure that your apron will cover your clothing without feeling restrictive. Also measure shoulder-to-waist distance for strap placement. These measurements can help you create a comfortable fit.
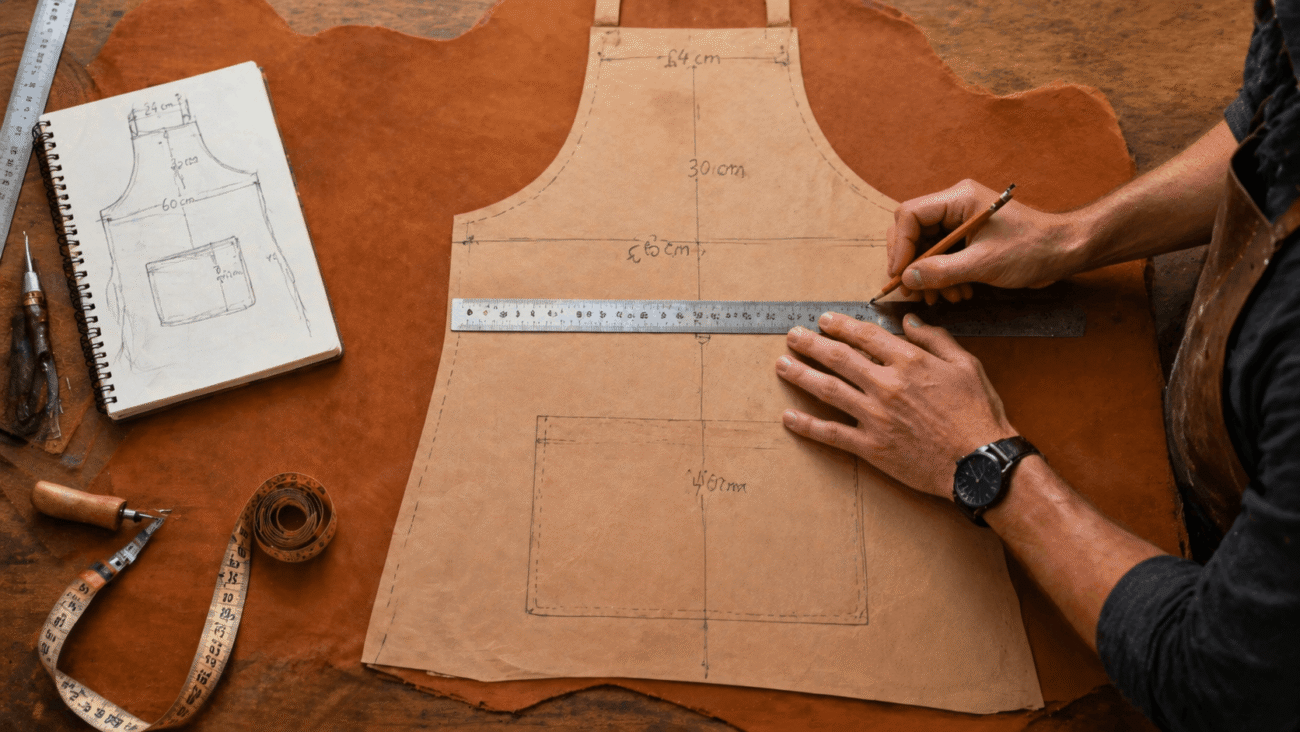
Drawing Your Pattern on Paper
Before cutting leather, it is always considered a better practice to create a paper pattern. Use large craft paper and transfer your measurements carefully. Draw straight lines using a ruler and round corners slightly for comfort. Mark strap positions and pocket locations. A paper pattern allows adjustments before cutting expensive leather. You can hold the pattern against your body to check the final fit.
Cutting Your Leather Pieces
How to Lay Out Your Pattern
Place your leather on a flat, clean surface with the smooth side facing down. At the same time, position your paper pattern carefully to avoid defects like scars or wrinkles. Align the longest edge of the apron with the natural grain for better strength. And use weights or masking tape to hold the pattern steady. Trace around the pattern lightly using chalk or a silver pen.
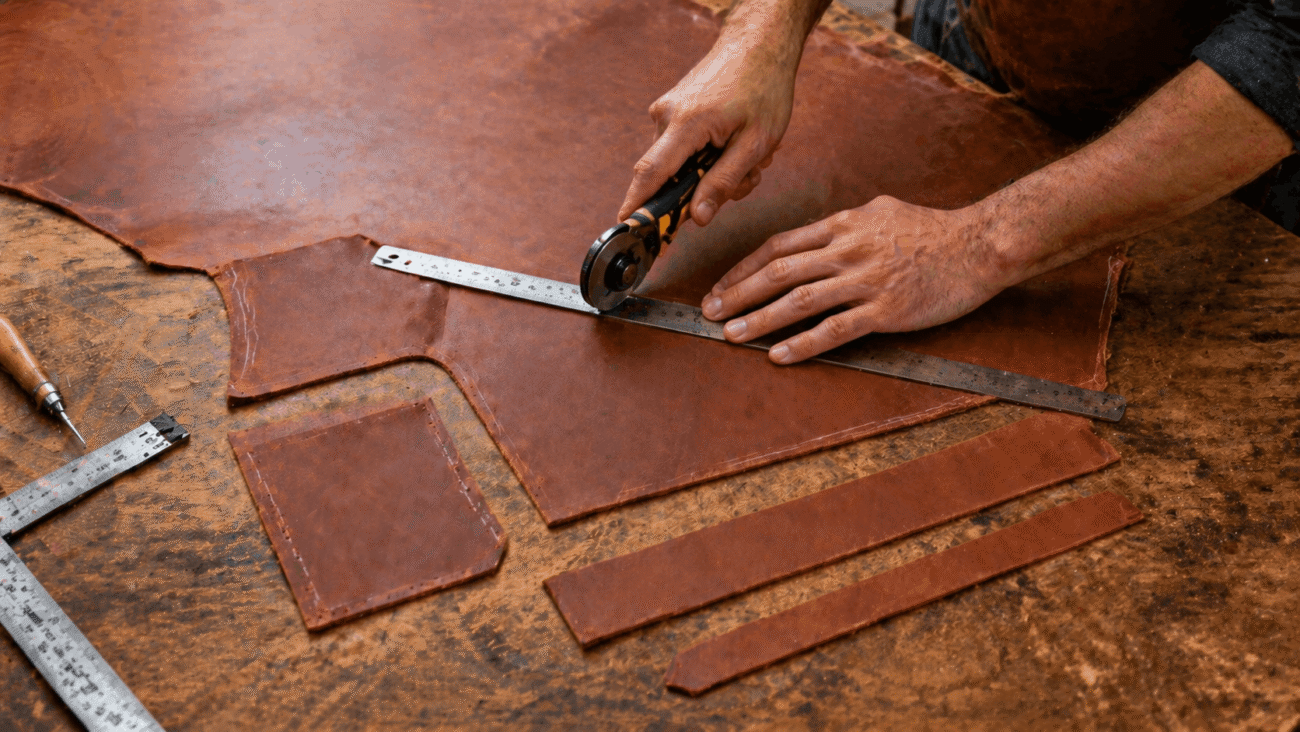
Cutting Techniques for Clean Edges
Use a sharp utility knife or rotary cutter for precise cuts. Hold a metal ruler along straight lines and apply steady pressure. Keep in mind to avoid cutting in one heavy stroke; instead, make multiple light passes, which can prevent tearing and uneven edges. For curves, move slowly and rotate the leather instead of the blade. Keep your hand steady to maintain smooth lines. After cutting, inspect edges for rough spots.
Adding Straps and Neck Loop
Cutting Strap Pieces
Straps should be strong yet comfortable. That’s why measure your shoulder and waist lengths before cutting. Typically, straps range between one and one-and-a-half inches wide. So mark straight lines on leftover leather pieces and cut carefully using a ruler. Make sure that all straps are even in width. Rounded corners help prevent discomfort during use. If the leather feels stiff, gently flex it to soften slightly.
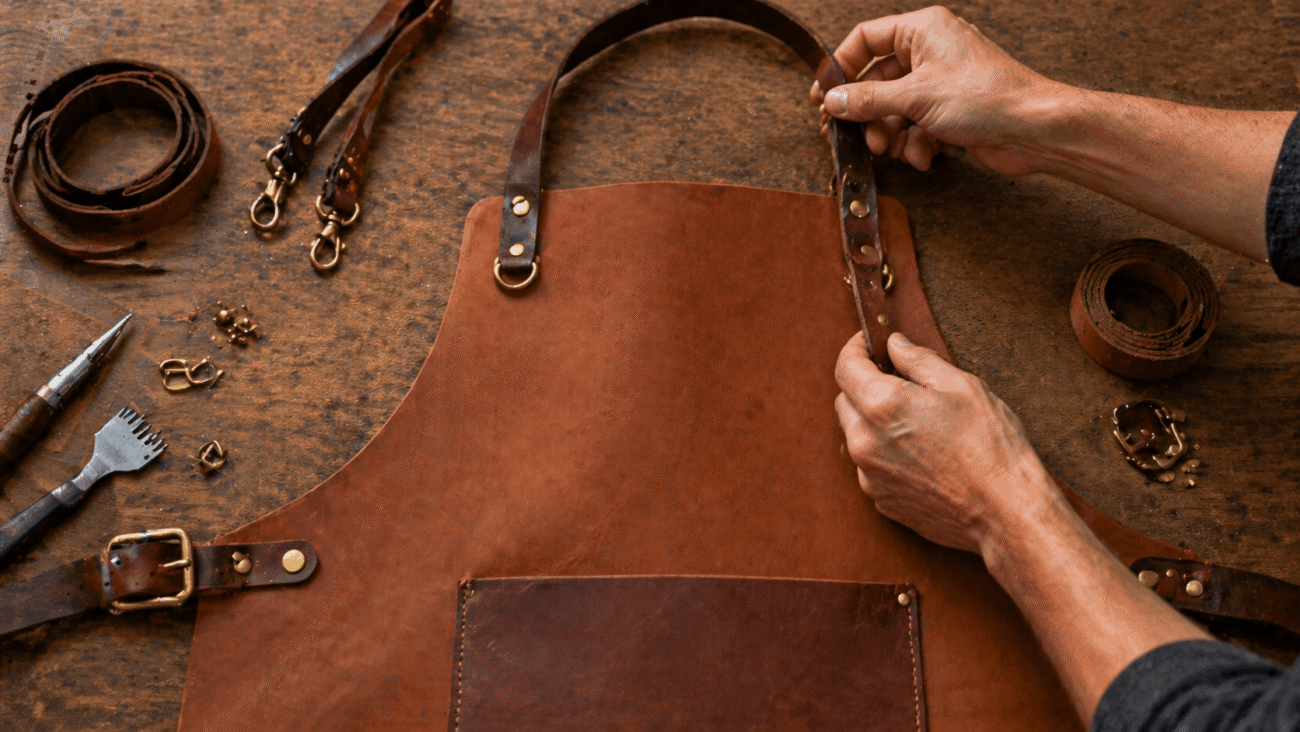
Attaching Straps Securely
Position straps so that they distribute weight evenly across your shoulders. Mark attachment points before punching holes and use a stitching chisel to create evenly spaced holes for strong seams. Not to forget that you can also add rivets for extra reinforcement.
For that reason, thread the waxed thread through the holes and stitch firmly, and avoid loose stitches, as straps carry most of the weight.
Adding Pockets to Your Apron
Pocket Placement Tips
Place pockets where they’re easy to reach without restricting movement. Common positions include chest-level for small tools and waist-level for larger items. Also, avoid placing pockets too low, as they may interfere with walking.
Mark pocket outlines using chalk before cutting, and consider your workflow when deciding size and location. Multiple small pockets can improve organization, so keep enough space between pockets for stitching.
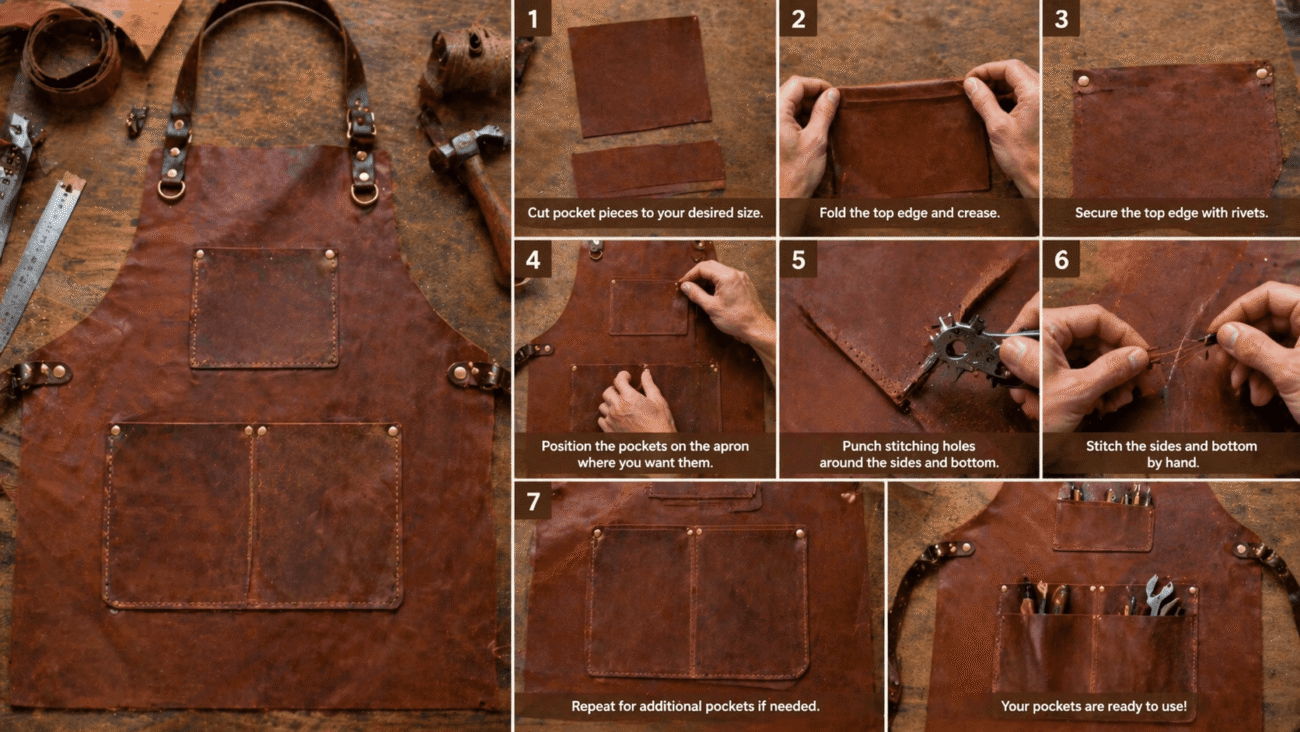
Cutting and Attaching Pockets
Cut pocket pieces using the same clean cutting techniques. Slightly round the corners for comfort and durability. Place pockets onto the apron body and mark stitching lines. Punch holes along the edges, and leave the top open. Use waxed thread to stitch carefully around the sides and bottom. Keep stitches even for a neat finish.
Stitching Your Leather Apron
Hand Stitching vs Machine Stitching
For stitching, hand stitching is the most beginner-friendly method. Because it offers better control and stronger seams. Though machine stitching is faster, it requires heavy-duty equipment that is specifically designed for leather. That’s why many beginners often prefer hand stitching because it’s easier to manage thick material. Hand stitching also creates a traditional handcrafted look, which makes leather aprons look better.
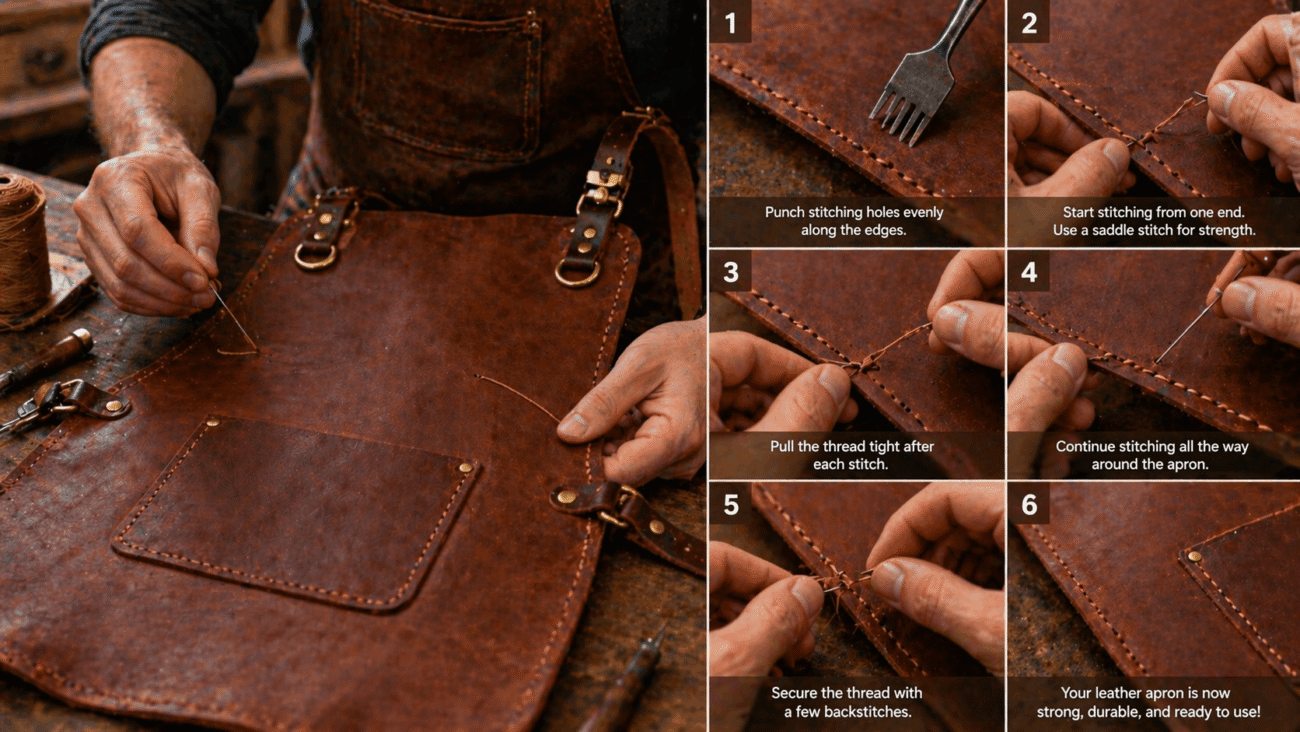
Basic Saddle Stitch for Beginners
The saddle stitch is a strong and reliable technique. In this technique, you are supposed to thread two needles onto both ends of waxed thread, then pass one needle through the first hole, and then pull evenly.
Insert the opposite needle through the same hole from the other side. Continue this pattern across all holes and keep the tension consistent for even stitches.
Finishing the Edges
Beveling and Sanding
After stitching, smooth the edges for comfort and durability. Use an edge beveler to remove sharp corners. This step reduces wear and improves appearance. Lightly sand edges with fine-grit sandpaper. Move evenly along the edge to avoid uneven surfaces. Sanding prepares leather for burnishing, which is why clean off dust using a dry cloth.
Burnishing for a Smooth Finish
Burnishing seals the edges and enhances durability. Apply a small amount of water or gum tragacanth along the edge. Use a wooden burnishing tool and rub back and forth quickly. Friction creates heat, smoothing the fibers. Continue until the edge becomes glossy and firm.
FAQs
1. Is making a leather apron difficult for beginners?
No, with basic tools and care, beginners can successfully create a simple leather apron.
2. What type of leather is best for DIY aprons?
Vegetable-tanned or top-grain leather works best for DIY aprons.
3. Can I sew leather using a regular sewing machine?
No, because most regular machines struggle with leather. Heavy-duty machines or hand stitching are better options.
4. How long does it take to make a leather apron?
For beginners, the process usually takes a few hours, depending on design complexity.